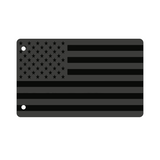
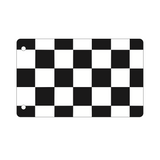
Flag for TrickWhips Gen 2

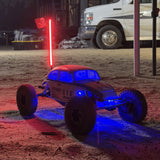
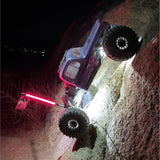
Flags are the Ultimate Finishing Touch for MyTrickRC's Gen 2 TrickWhip Lights!
Patent Pending
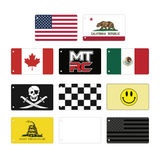
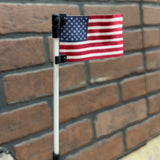
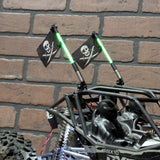
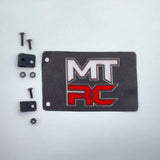
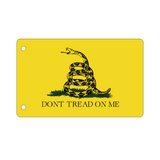
Add a Flag to your Gen 2 TrickWhip Light to stand out from the crowd! MyTrickRC currently offers ten different Designs so you can show off your individuality. TrickWhip Flags come with everything you need for easy mounting.
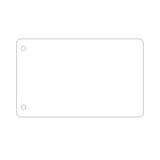
Blank White Flags Available
In addition to our ten Designed Flags, we also offer a plain blank white flag. No, this is not so you can surrender - it's so you can customize it for whatever reason you want. For example, you might put your number on for racing. Or you could make your own custom graphic for yourself, your team, or your company.


What's Included
- 1pc Flag for TrickWhip Gen 2 in the Design of your choice
- Mounting Hardware
Specifications
- TrickWhip Flags are 60mm Wide x 40mm Tall
- Designs are printed on both sides
Note
TrickWhip Flags are designed to work perfectly with our Second Generation TrickWhip Lights. They are not exactly compatible with our First Generation TrickWhip Lights because the older version does have the proper mounting points. Still, where there is a will there is a way. We're sure some creative person can come up with a solution for using a TrickWhip Flag with a Gen 1 TrickWhip.
Installing your TrickWhip Flag
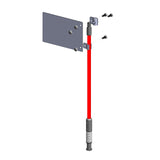
Connecting your Flag to your TrickWhip takes just a few simple steps. First, using a supplied screw and nut, connect the Upper Cap to the top hole on the Flag.
Top Tip: Hold the nut fixed to the back of the Flag in one hand while driving the screw with the other hand. This prevents the Flag from twisting while you turn the screw. Ask us how we know.


Next, place the Upper Cap at the top of the TrickWhip.

Using another screw and nut, screw the Upper Cap to the top of the TrickWhip.

Using the last screw and nut, attach the Lower Clip (affectionately known as the "Lego Hand") to the bottom hole on the Flag.

Snap the Lower Clip to the TrickWhip.

That's it. You're done!


